
One of the specialty courses we take while on the Divemaster Immersion Program, is the PADI Digital Underwater Photographer Course. I was looking forward to this as I have always been terrible at taking pictures or video underwater. Mind you, I never really spent any time researching techniques or equipment, perhaps beyond learning what I could spend the least amount on and still get something acceptable.
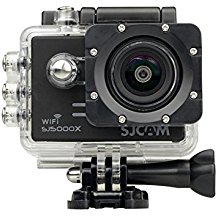
Up until now I was using an SJCAM, which is a GoPro knock-off that does a pretty good job for the price that you pay. They’ve updated their website, and it’s fairly well done. I learned about them during one of the many equipment reviews that The Wynns had done in their early sailing days.
The problem I found using such an “action cam” was that the screen was much too small to be able to see what you are pointing at, unless it’s right in font of the camera. Also, when I used a mask mount, or hand-held mount while snorkeling, the camera moved around so much as to make the video unwatchable. You can “wash” the video through some editing software, and/or YouTube has a feature that will steady the scene when you upload, but I considered myself a terrible picture and video taker. After paying for this course, and in particular a camera that comes with it, I figured it was time to put a little bit of effort into the…underwater scene…see what I did there?
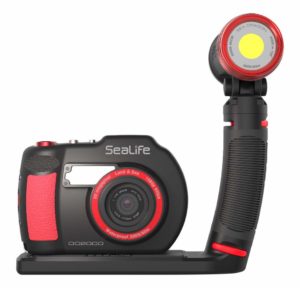
With PADI you can get print or online material, thru their eLearning. For the course I was on, we received all printed material, plus…the camera itself. There was nothing that said you had to use the camera they provided, and one guy stuck with his GoPro, but they recommended the SeaLife DC2000 with the Sea Dragon 2500 LED Light.
SeaLife has been around for a few years, and has been growing in popularity at a steady pace. We actually tried to buy an early model before we chartered a boat in the BVI a few years ago. Unfortunately the seller blew it on the shipping, so it never arrived before we left and we never got to try it out.
SeaLife claims to be the first purpose-built digital underwater camera. Evidently, all the others before, and many now, are simply a normal camera that someone has built a waterproof enclosure for so that it can be used underwater, even though it was not designed for that. (But don’t quote me on this – I may have just dreamt that up just now). From their own advertising:
- Auto focus from 3.5” (9cm) to infinity
- 20 MP 1” SONY® Image Sensor
- 1080p@60fps Video
- Depth rated to 200ft / 60m
- Waterproof inner camera
I found it interesting that the camera actually uses SONY® hardware. With 20MP 1″ image sensor, and RAW imaging capabilities, you likely won’t be sharing your pictures over email without some heavy reducing. They also claim DSLR-like imaging results, which I know nothing about, but I included the associated wiki page explaining it for you to enjoy in your spare time.
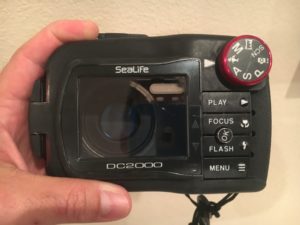
In reference to the depth rating of 200ft/60m, that is for the camera while in the waterproof housing. Interestingly, the camera by itself without the housing is waterproof to 60ft/18m so you don’t have to worry about carrying it around as your land-based camera in inclement weather or various austere environments.
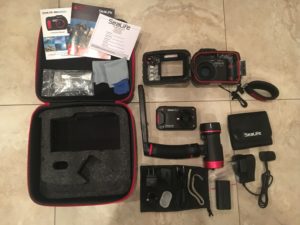

Here’s everything that came in the box. You can buy the camera and/or the mount and light individually, but with my setup they all came together. I have read articles from photographers that use other brands of cameras, but still use the SeaLife lights/strobes so they must be a good product.
The protective case seemed to be setup for the lighting gear only, so I notched out the foam a bit on top so the camera case would also fit.
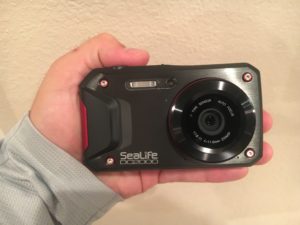
Nice small camera that packs a big punch. No trouble calling it all-weather proof as it’s good to a depth of 18m/60ft without the underwater case.
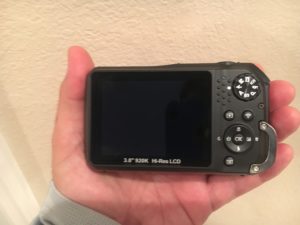
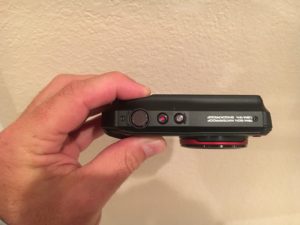
One of the criticisms you’ll read about the camera is the awkward/counter-intuitive setup of the buttons on the back. I did struggle to move through all the menus when I first started playing with it. What was interesting was once the camera was inside the case, it got much easier, once everything was reduced down to 4 buttons and the “OK.” I think everything was still available, but I could be missing something.
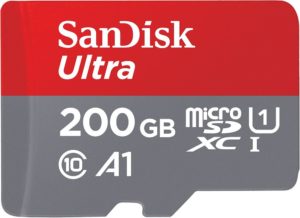
One thing that did not come with the camera was a very necessary MicroSD memory card. Technically, it’s not required, but with only 80MB of internal memory, and no internal video storage capability, it’s rather useless without it, considering each RAW file is about 20MB. Since I was stuck, I over-paid for the largest card they had in the dive shop, which was 64GB, however a 200-256GB card from Amazon or elsewhere is likely in my future.
Also note that you need to pay attention to the “transfer rate” of the cards. I was not aware of this until reading about some cameras, including mine, that may freeze or shut down at just the wrong time. One possible cause is an inferior transfer rate on the card that is too slow for the camera.
The dive shop tried to up-sell me on the flexible light arm extension. I didn’t take it, but likely will get one in the future. I didn’t get a really good reason why I needed it at the time, but it has a lot to do with light position and potential backscatter caused by tiny particles floating between you and your subject.
So am I now a fully fledged professional under water photographer? Not even close. It’s safe to say that I know about enough to be dangerous when talking to someone that knows what they’re doing.
I’m not sure yet how far I’ll go with the whole photography thing. Gear is pricey and it’s hard to justify spending much more on something that doesn’t pay for itself, especially when we’re still thinking about the next boat, but hey…underwater selfies are always available!
![]()
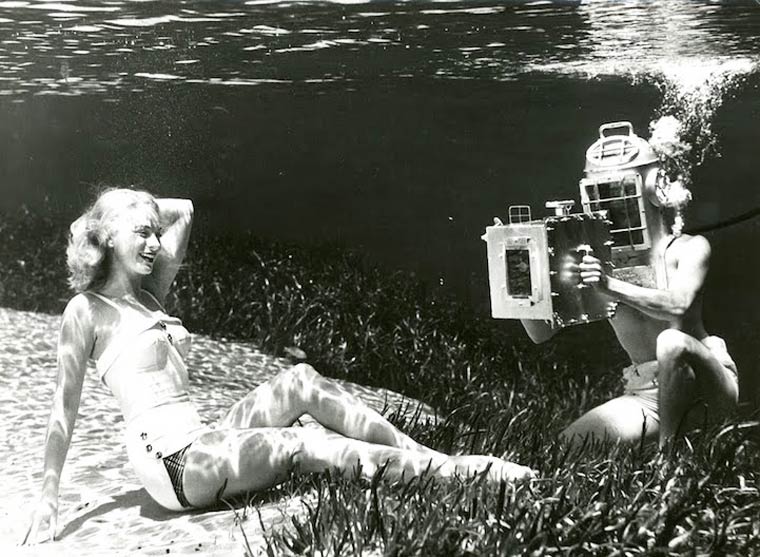
*The featured image from the main page is from the Bruce Mozert collection. He was a pioneer of underwater photography, and lived close by in Silver Springs, FL.
Leave a Comment